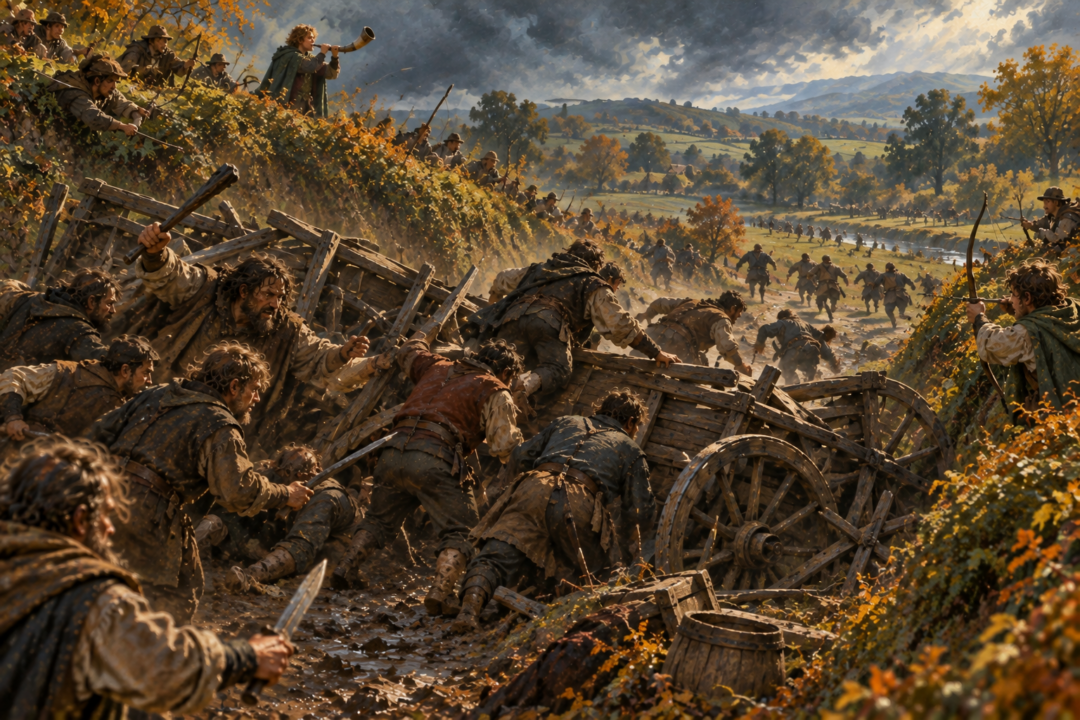
The decisive weapon at the Battle of Bywater is not a sword, a bow, or even the famous horn Merry brought home from Rohan.
It is a country road.
When more than a hundred ruffians march toward Bywater to crush the Shire’s rebellion, they have an obvious advantage over hobbits in a direct fight. They are larger, physically stronger, and accustomed to frightening people into submission. Yet Merry Brandybuck does not allow them the kind of battle where those advantages matter most.
Instead, he turns an ordinary piece of the Shire into a trap.
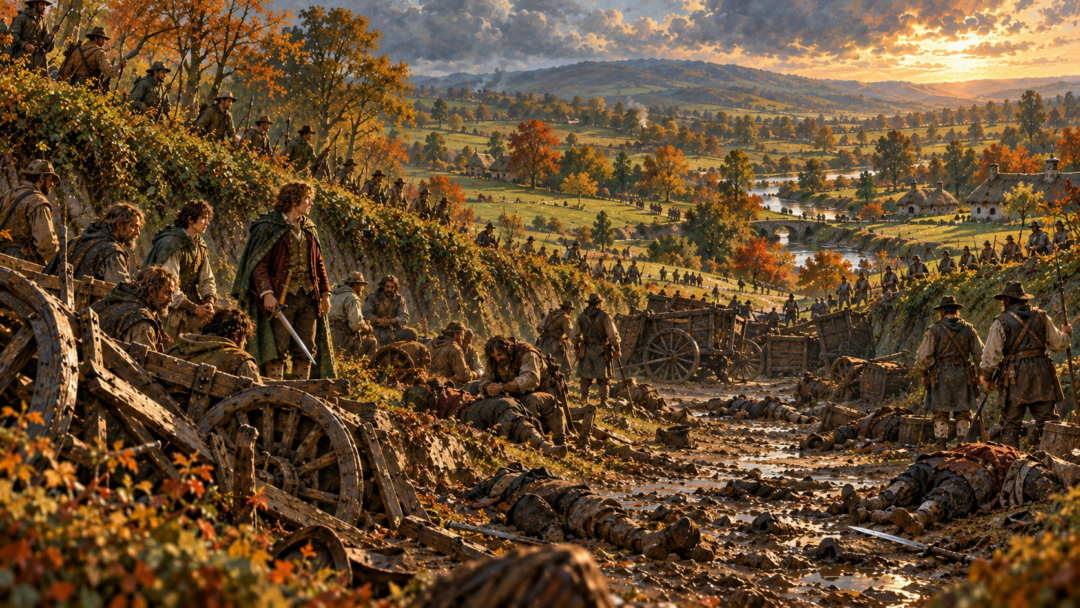
The ruffians are allowed to advance along the Bywater Road between high banks. They encounter overturned farm-carts blocking the road ahead. Then wagons hidden behind them are pushed into place, closing their retreat. Hobbits line the hedges above.
It is a remarkably simple plan—and one that reveals how much Merry has changed since leaving the Shire.
But there is an important detail sometimes lost in summaries of the battle: the trap does not make escape impossible. Some ruffians really do break through.
Merry’s success lies in making a coordinated breakout extraordinarily difficult, then ensuring that even escape from the immediate battlefield does not necessarily mean escape from the Shire.
Merry Understands the Enemy Before the Fighting Starts
Before the larger force arrives, Merry receives information from scouts.
The ruffians are advancing together toward Bywater because they know the countryside has risen against them. Their intention is evidently to crush the rebellion at its center. But the narrative makes an equally important observation: despite their grim intentions, they appear to have no commander who understands warfare.
They advance without precautions.
That is exactly the weakness Merry exploits.
He does not need to defeat an alert enemy maneuvering intelligently through open country. He needs to predict what an overconfident force will do.
The Men expect intimidation to work because intimidation has worked before. For months, the Shire has been subjected to rules, confiscations, threats, arrests, and armed enforcement. The ruffians have become accustomed to hobbits obeying them.
The returning Travellers overturn that assumption almost immediately.
By the time of the battle, Merry also has something the ruffians lack: reliable local support. Scouts are watching their movements. Hobbits are gathering. Pippin returns from Tookland with a hundred Tooks. The countryside itself is becoming hostile to Sharkey’s Men.
So Merry knows roughly what is coming, while the ruffians do not properly investigate what awaits them.
That difference in information is the beginning of the trap.
The Bywater Road Becomes a Weapon
The location Merry chooses matters enormously.
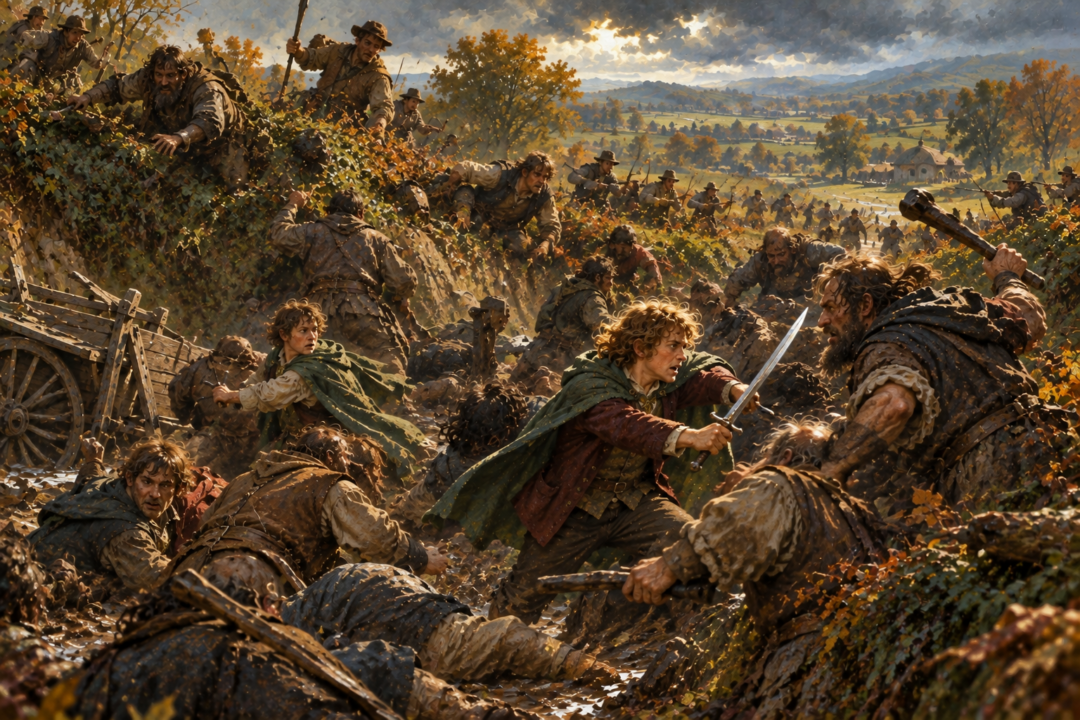
The Bywater Road runs uphill for a distance between high banks, with low hedges above them. Instead of meeting the ruffians in open ground, Merry positions his force around this confined section.
Around a bend, roughly a furlong from the main road, the advancing Men encounter a strong barricade made from overturned old farm-carts.
They stop.
Only then does the full design become apparent.
Hobbits are lining the hedges above the road. Meanwhile, other hobbits push wagons that had been concealed in a field across the road behind the ruffians.
The Men have marched into an enclosed position.
This is the central answer to why they cannot simply turn around and leave. Merry has not merely built a barricade in front of them. He waits until the enemy has entered the chosen ground before closing the road behind them.
The road itself restricts their movement, while the banks give the hobbits positions above them.
Merry then offers surrender.
He tells the trapped Men to put down their weapons and warns that anyone attempting to break out will be shot.
The goal, at least initially, is therefore not simply slaughter. The tactical position is being used to compel surrender.
The ruffians refuse.
And that is when the strength—and the limitations—of Merry’s trap become visible.
Some Ruffians Actually Do Break Out
The Battle of Bywater is more interesting because Merry’s enclosure is not magically airtight.
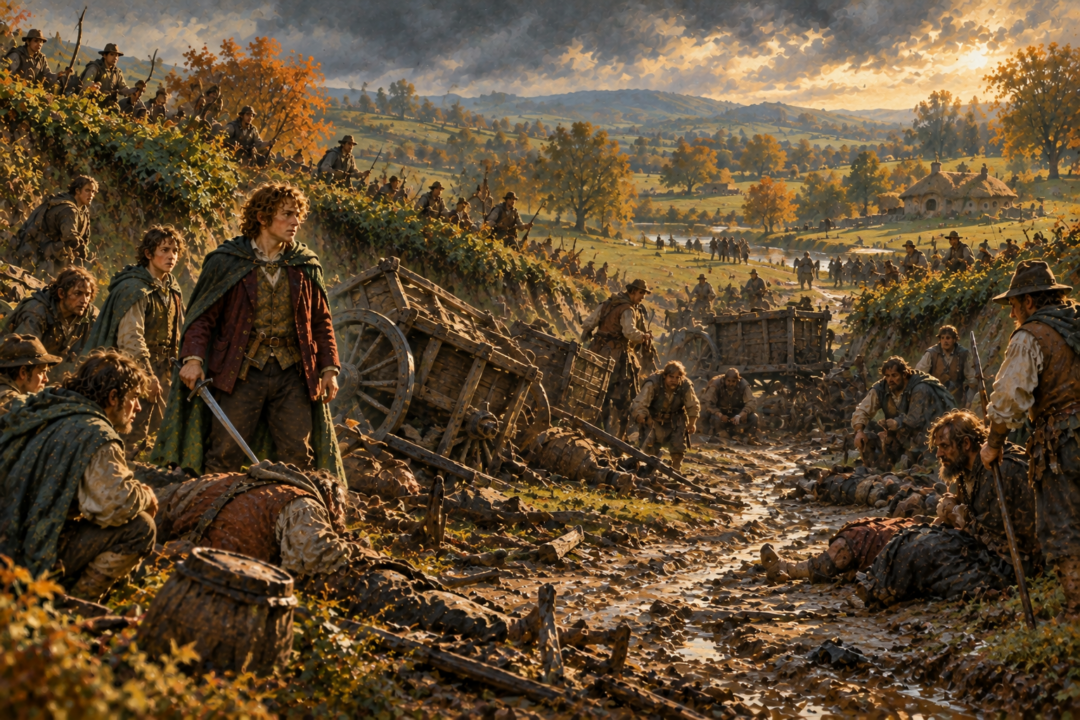
A few Men initially obey the demand to surrender, but their companions turn on them. Then a group of more than twenty charges back toward the wagons blocking the road behind them.
The hobbits shoot six.
The others reach the barricade and burst through, killing two hobbits in the process. Two more of the fugitives are shot as they flee across country toward Woody End.
So the premise that Merry somehow makes breakout physically impossible would be incorrect.
The ruffians can break out if enough of them attack one point with sufficient violence. Men are larger than hobbits, and an improvised barricade of wagons is not a fortress wall.
But the escape comes at a cost.
Instead of the entire force simply reversing direction and marching away together, only part of it punches through. The organized column has been fragmented. Those who escape are now scattered fugitives moving through countryside that is already rising against them.
That is where the second layer of Merry’s plan becomes important.
The Trap Extends Beyond the Barricades
When the escaping ruffians run toward Woody End, Merry sounds his horn.
Answering horn-calls come from farther away.
Pippin remarks that the fugitives will not get far because the surrounding country is full of hunters.
This changes how we should understand the Battle of Bywater. The battlefield is not merely the short enclosed stretch of road between two wagon barriers.
The wider Shire has become part of the defensive system.
Merry and Pippin have helped transform isolated resistance into coordinated resistance. The Tooks are already active elsewhere. Hobbits are watching roads and countryside. The Men can escape the immediate enclosure, but doing so does not restore their former freedom of movement.
Their earlier power depended heavily on the Shire being passive and divided.
That condition no longer exists.
A ruffian fleeing alone or in a small group is in a much worse position than a hundred Men marching together. Breaking the barricade therefore solves only the first problem.
Beyond it waits a countryside that is no longer cooperating.
Why the Banks Matter as Much as the Wagons
The remaining ruffians still number roughly four score after the first breakout.
They attempt another solution: climbing.
Again, the physical geography works against them.
The banks confining the road are steep enough that the hobbits above can attack the Men as they try to get out. The text describes hobbits shooting many or striking them with axes as they attempt to climb the barrier and banks.
Yet once again, the defense is not perfect.
Some of the strongest and most desperate Men succeed in getting out on the western side.
This produces the most dangerous moment of the battle.
Once outside the road, these ruffians attack fiercely. Their purpose has also changed. They are now described as more intent on killing than on escaping. Several hobbits fall, and the defenders begin to waver.
Merry’s plan has therefore achieved its first objective—breaking the enemy’s organized movement—but it does not eliminate the need for close fighting.
The tactical advantage must still be defended.
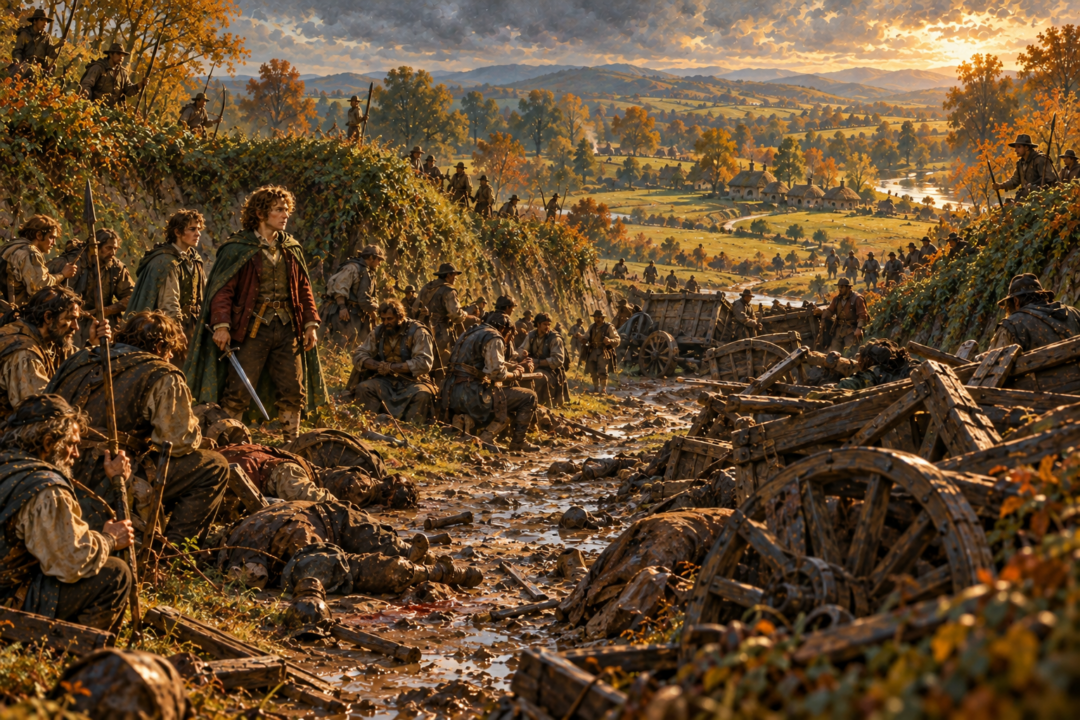
Merry and Pippin, positioned on the eastern side, cross over and charge the ruffians. Merry kills their leader. After that, the remaining Men are surrounded by a broad ring of hobbit archers.
The trap works because it is flexible. Barricades halt the column. Elevated positions constrain it. Missile weapons punish breakout attempts. Mobile hobbit forces respond when part of the enclosure is breached.
No single element is sufficient by itself.
Together, they dismantle the ruffians’ ability to behave as one coherent force.
Merry Has Learned What the Ruffians Have Not
There is a striking contrast between Merry and his enemies.
The ruffians have weapons and numbers, but their behavior shows little battlefield discipline. They walk directly into prepared ground without taking precautions.
Merry has spent much of the War of the Ring among people for whom terrain, scouting, mustering, and organized defense are matters of survival.
The text does not explicitly say that Merry copied a particular Rohirric tactic at Bywater, so it would be too strong to claim that the ambush is directly derived from one specific battle he witnessed.
But his transformation is unmistakable.
The hobbit who returns to the Shire is no longer merely an adventurous member of Frodo’s original company. He has ridden with the Rohirrim, been present during the great war in Gondor, served King Théoden, and survived the Battle of the Pelennor Fields.
At Bywater, he behaves like someone who understands that courage alone is not a battle plan.
He gathers information.
He chooses favorable ground.
He prepares obstacles before the enemy arrives.
He conceals part of the trap.
He positions armed hobbits above the enemy.
He coordinates forces beyond the immediate battlefield.
And when the defense begins to fail on one side, he personally leads a counterattack with Pippin.
That is a long way from simply assembling a crowd and hoping hobbit bravery will overcome larger Men.
The Ruffians Lose Their Greatest Weapon Before the Battle Begins
There is another reason Merry’s trap is so effective.
Sharkey’s Men have ruled the Shire largely through fear.
Once the hobbits cease to be frightened into obedience, the balance changes dramatically.
The ruffians remain dangerous. The Battle of Bywater is not bloodless: hobbits are killed and wounded, and the fighting becomes fierce. Nothing in the chapter suggests that the Men suddenly become harmless once resistance begins.
But their system of domination depended on more than physical strength.
It depended on hobbits believing resistance was futile.
Merry destroys that belief before he destroys the enemy formation.
By the time the larger ruffian force reaches Bywater, scouts are tracking them, Tooks have arrived in strength, barricades are prepared, armed hobbits occupy the hedges, and hunters are active across the surrounding country.
The Men march toward what they still imagine to be the center of a rebellion that can be stamped out.
Instead, they discover that the Shire has organized itself around them.
The Real Genius of Merry’s Trap
Merry does not prevent every ruffian from breaking out.
He prevents the ruffians from breaking out effectively as an army.
That distinction explains the whole battle.
The first group that smashes through the rear barricade escapes only as scattered fugitives into hostile countryside. Others climb the western bank but become locked in desperate fighting rather than restoring an organized retreat. The remaining Men eventually find themselves surrounded by archers after their leader is slain.
Merry’s preparation repeatedly converts one large enemy force into smaller, less manageable pieces.
And he accomplishes it using the most ordinary materials imaginable: roads, hedges, banks, farm-carts, wagons, bows, horns, and local knowledge.
That is what makes Bywater such an appropriate final battle for the hobbits.
The great wars they witnessed elsewhere involved walls of stone, cavalry charges, siege engines, Nazgûl, mûmakil, and armies numbering in the thousands. Back home, the decisive battlefield is a narrow country road between hedges.
Yet the principle is the same.
Know where the enemy is coming from. Choose where to meet him. Do not surrender your advantages merely because the enemy is stronger. And above all, do not let him dictate the shape of the fight.
The ruffians come to Bywater expecting to crush frightened country folk.
Merry makes sure that by the time they understand what has changed, there are farm-carts in front of them, wagons behind them, armed hobbits above them—and an awakened Shire beyond.
Sources & Notes
- https://tolkiengateway.net/wiki/Bywater_Road — Tolkien Gateway, Bywater Road (Tolkien primary-text references in article)
- https://tolkiengateway.net/wiki/Scouring_of_the_Shire — Tolkien Gateway, Scouring of the Shire (Tolkien primary-text references in article)
- https://tolkiengateway.net/wiki/Meriadoc_Brandybuck — Tolkien Gateway, Meriadoc Brandybuck (Tolkien primary-text references in article)
Relevant Tolkien text and chronology are referenced by the linked Tolkien Gateway entries; interpretive conclusions remain distinguished from canon.